
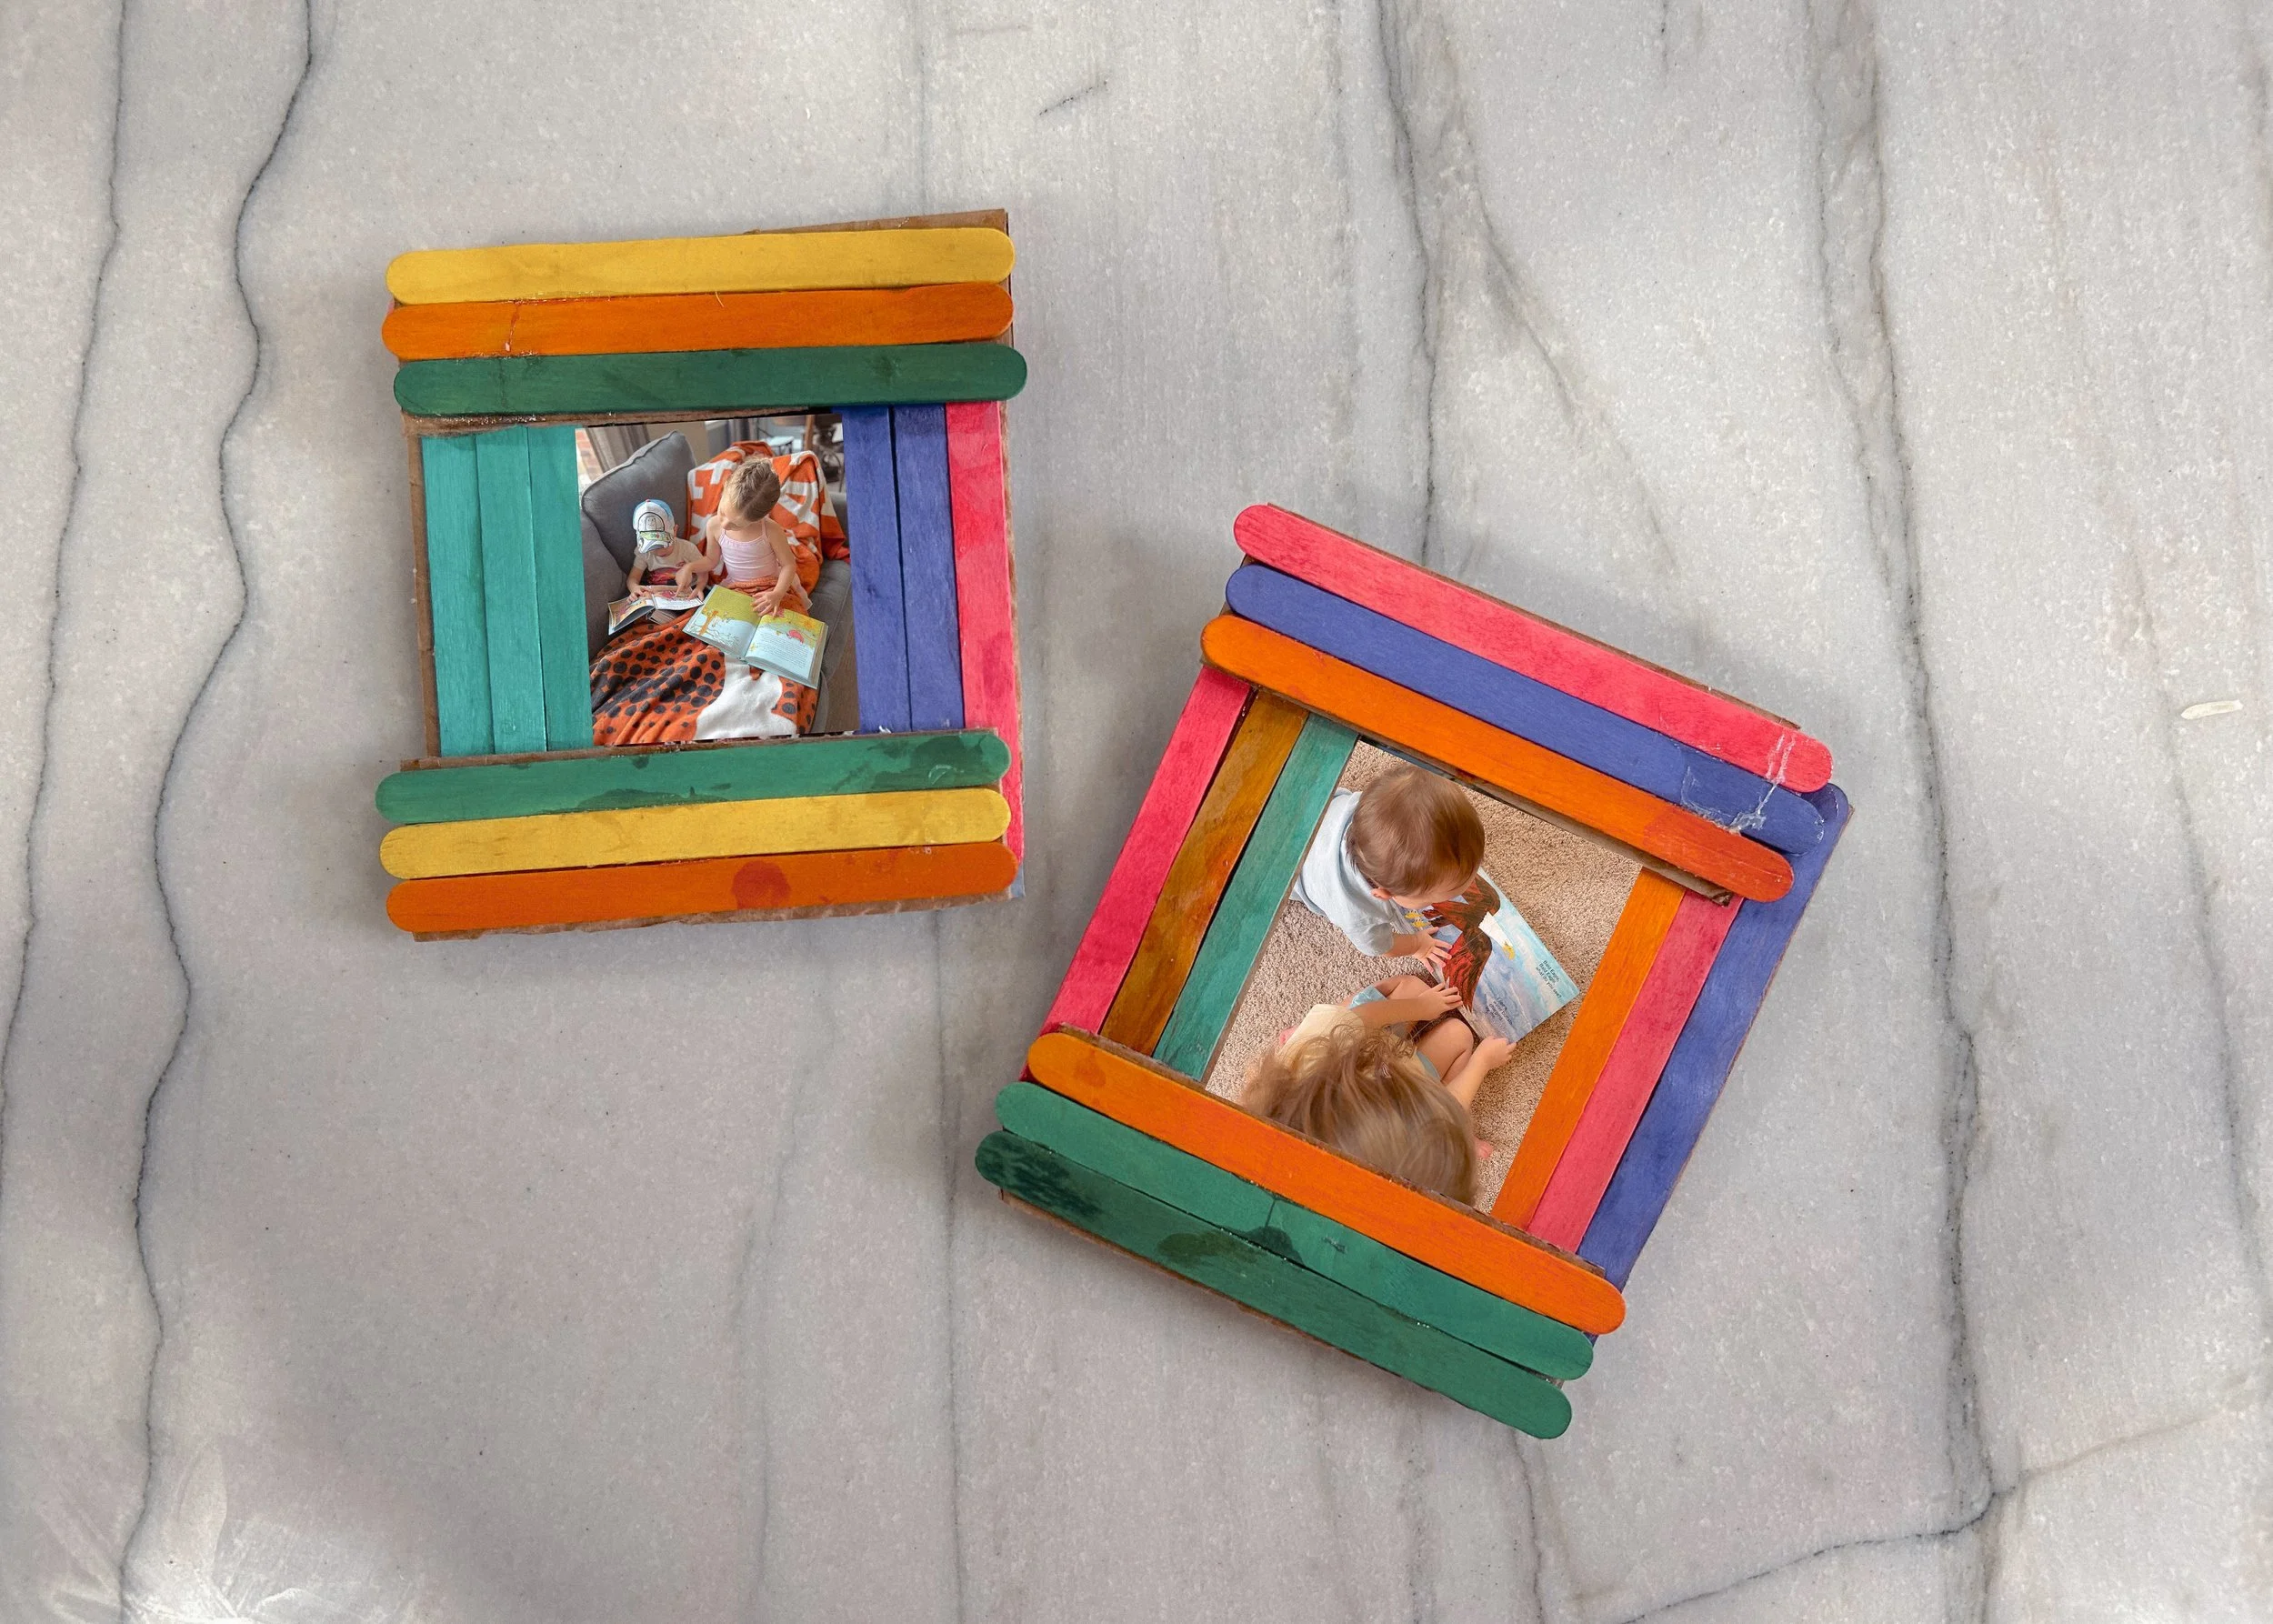
Popsicle Stick Picture Frames
It’s just as it sounds: popsicle sticks turned into the most adorable picture frames. This was such a fun afternoon craft to do with my littles and they loved getting to choose all of the colors for their frames and do 99% of the work. This would be a great project for gifts for grandparents for Valentine’s Day! A sure fire way to bring a smile to your loved one’s faces. The longest part of the project was letting the popsicle sticks dry, but the hands-on time was no more than 20 minutes! You can get as creative as you like with these: add magnets to the back, decorate with glitter or stickers, bejewel, or paint on the sticks. It’s a delightful opportunity to create something out of things sitting around your home. My favorite kind of craft!
You can find the supplies and instructions below. Please note that we do receive a small amount of compensation for any purchases made using our links (at no cost to you). We are grateful for your support to continue offering these free resources to you and your family.
SUPPLIES:
• Cardboard
• Popsicle Sticks
• B7000 Glue
• Bag Clips
• Magnets, Jewels, Stickers (Optional)
INSTRUCTIONS:
1. Measure 3 popsicle sticks laying next to one another. Use those measurements and cut out four rectangles out of the cardboard.
2. Glue 3 popsicle sticks onto each piece of cardboard. Let dry completely.
3. Place two of the cardboard stick pieces wide enough to fit the picture that you would like. Place glue on the top and bottom of each of these pieces.
4. Place the other two cardboard stick pieces horizontally on top of the bottom two pieces that have the glue.
5. Secure the pieces together with the bag clips. Let dry completely.
6. Tape a picture to the back of the frame once dry.
Optional:
Add two magnets to the back of the frame to hang on your refrigerator. Decorate with jewels, markers, and/or stickers!