
Make Your Own Crayons!
If you haven’t caught on already, we love to color around these parts. Every afternoon, you can find us gathered around the kitchen table coloring and creating. Overtime, though, our crayons seem to get quite destroyed, and so in attempt to salvage and reuse, we made our own! My kids had so much fun working on this project together and were absolutely amazed to see the finished product. I love opportunities to reuse instead of tossing and this is such a fun little activity to do together. The best part is, it’s very low cost. Do note, peeling off the wrappers definitely took a few minutes and required some assistance from me. From there, the kiddos were set breaking up and crayons and filling the silicone mold. Within an hour from start to finish, our crayons were ready to use!
Below please find the supplies and instructions to create your own crayons. Please note that we do receive a small compensation for any products you purchase using our links, at no cost to you. This helps allow us to continue offering these free activities for you to enjoy. Happy crafting!
SUPPLIES:
• Crayons (broken or fully intact)
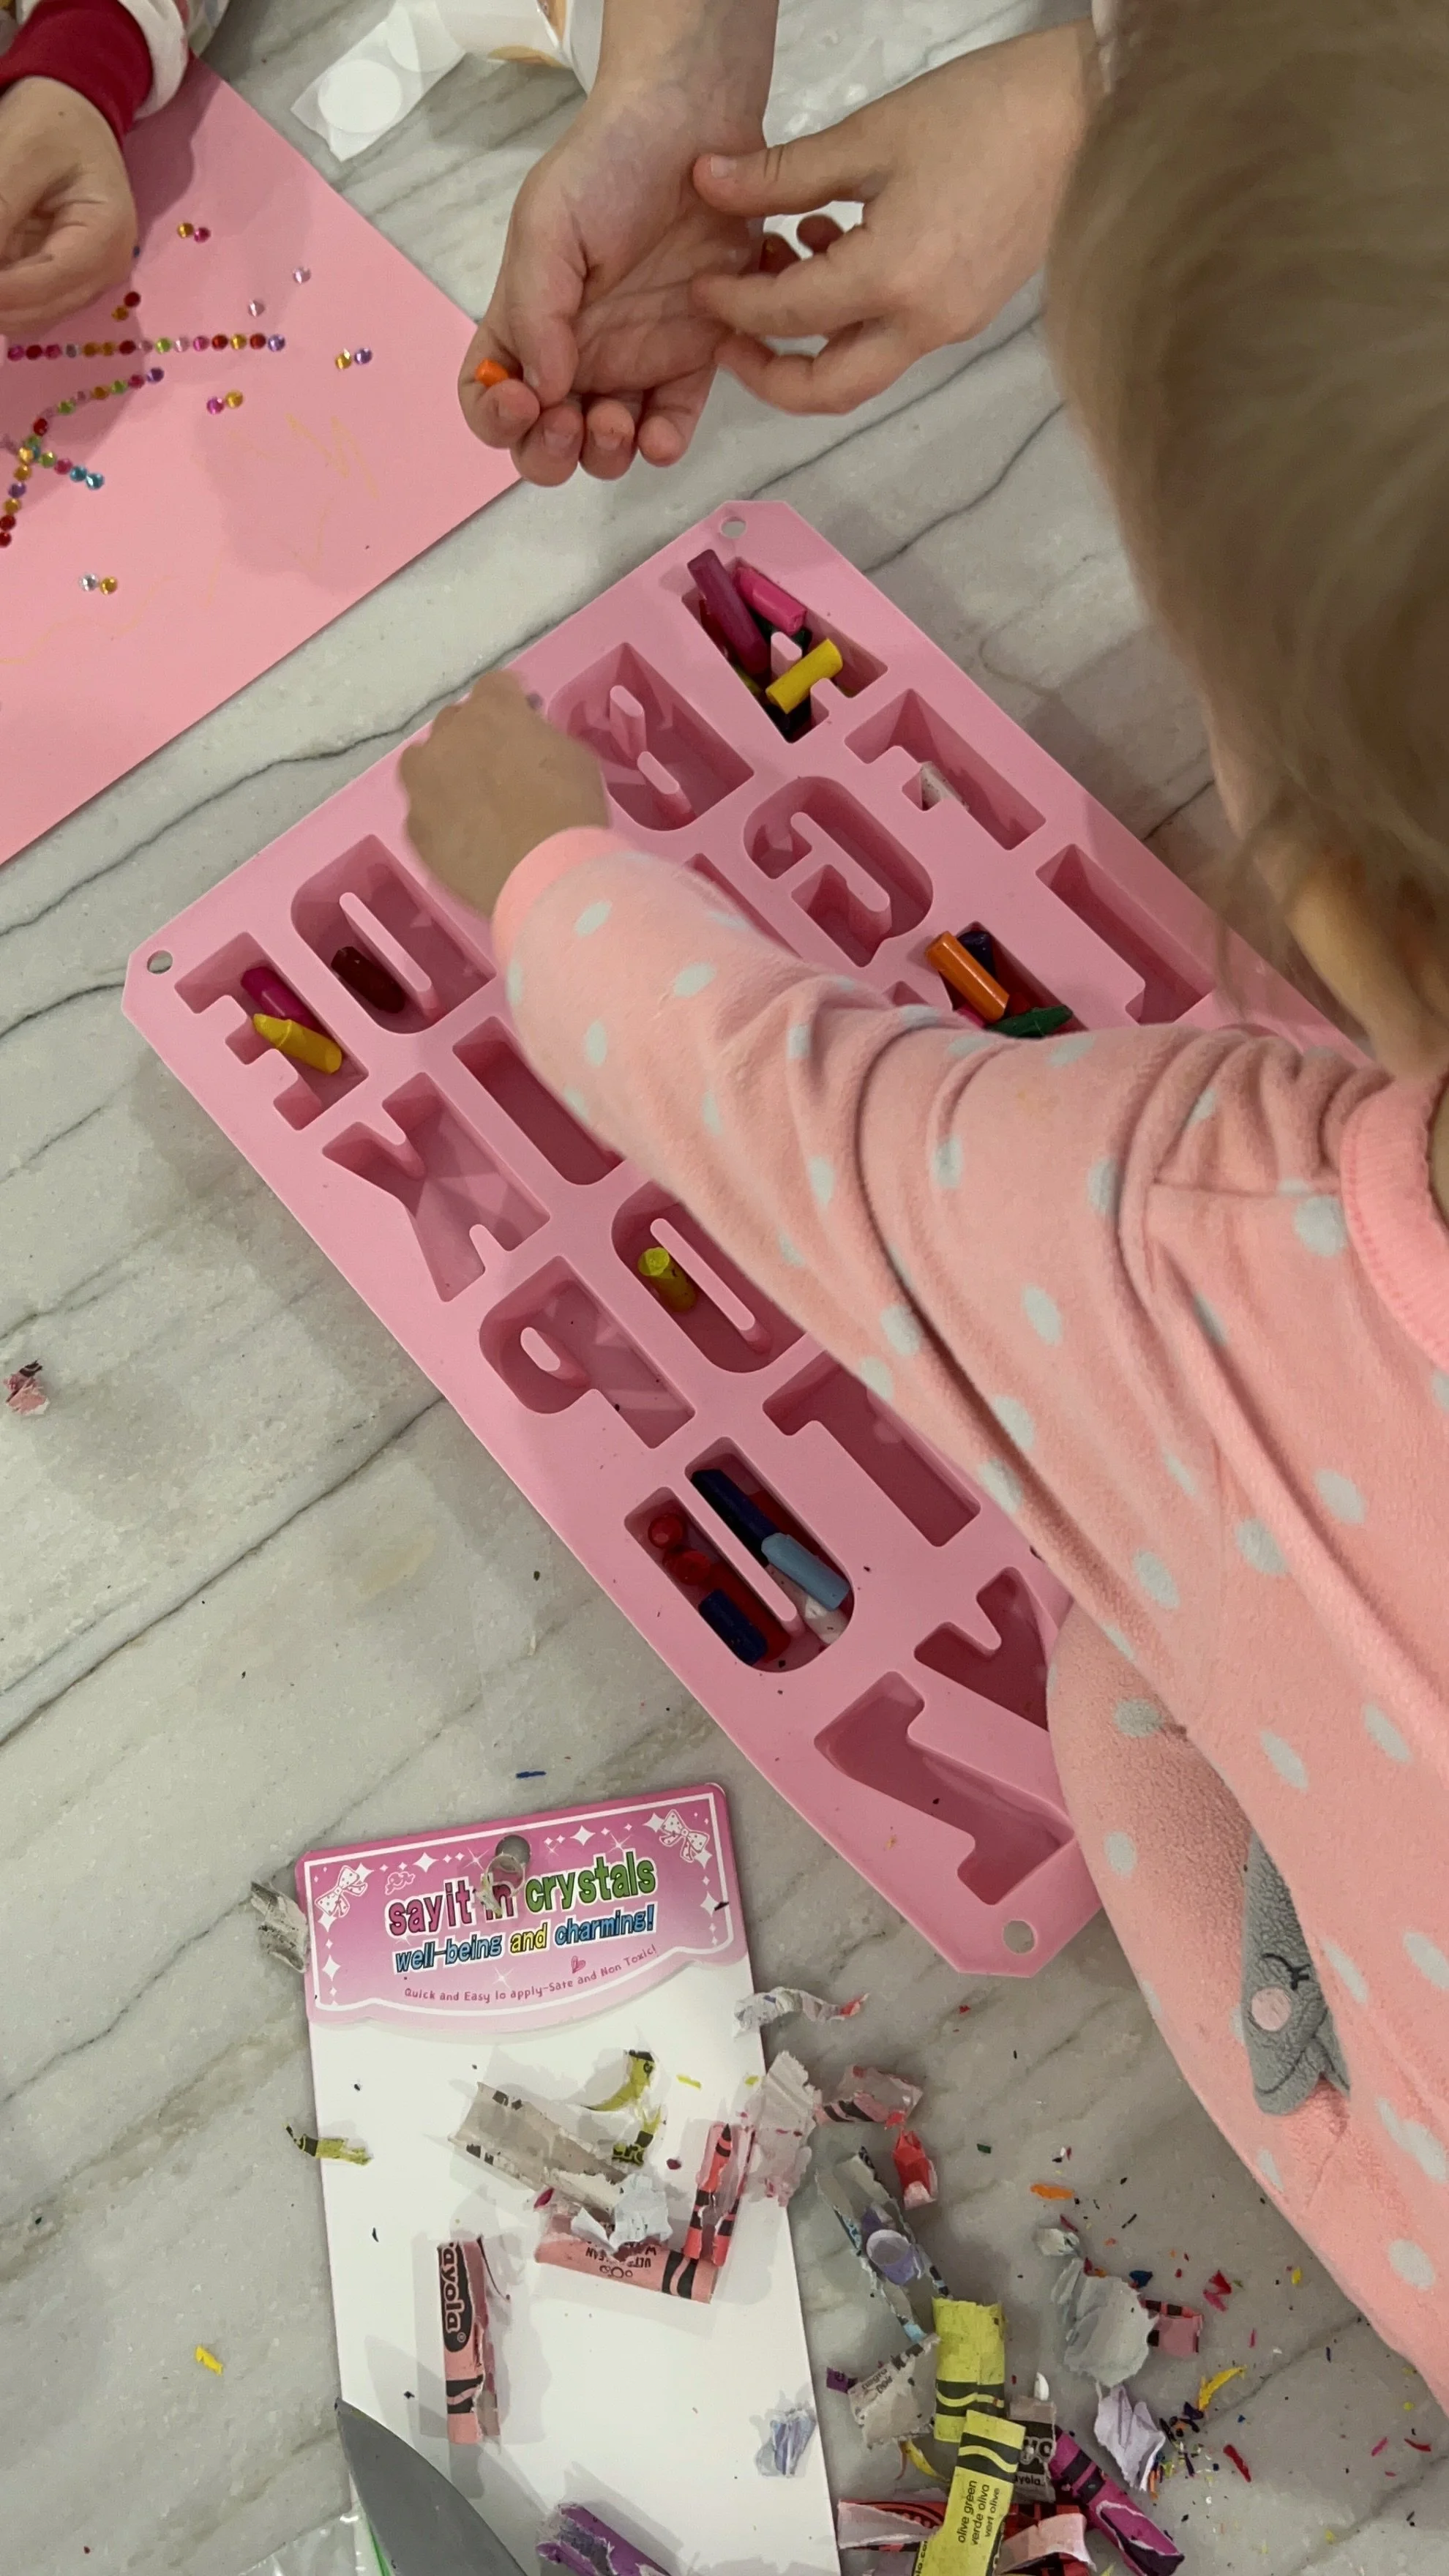
• Silicone Mold — You can use any shape! We loved the letters to be able to practice spelling and laying out their names. There are so many molds out there: animals, flowers, etc. We purchased ours off of Amazon, but the Hobby Lobby baking aisle has so many and always are 50% off!
• Baking Tray — This makes for easy removal from the oven and avoids spills!
INSTRUCTIONS:
1. Preheat your oven to 300 degrees.
2. Unwrap all of the crayons and place into a bowl.
3. Break up the crayons into small pieces.
4. Fill the mold up with the small broken crayons. Stuff in as much as you can, as they will melt down considerably.
5. Put the filled mold on the baking tray and place into the oven.
6. Bake 10-15 minutes just until the crayons are melted. Be sure to keep watch!
7. Let cool 30-45 minutes. Do not try to take the out of the mold sooner, as the wax is still pliable and they will break. (Don’t ask how I know! 😉)
8. Once fully cool, remove the crayons from the mold and enjoy!